Retro Holiday Wreath - Fa La LlaMa!
Deck the Halls with cheerful llamas! This year I really wanted to think outside the box and create a holiday wreath that was not only fun to make, but fun to look at, and maybe bring smiles to some faces! So I decided to combine my love for hipster llamas, retro holiday decor, and a surprisingly fun mobile game called Alto's Adventure (where you play a snowboarding shepherd trying to catch all your escaped llamas - I know, random - But I highly recommend it) all into one! Thus was born, the "Fa La LlAMA" wreath!
I always keep an idea journal around so I can jot down things I see and love, new ideas, and inspiration. So it should come as no surprise that I had such a clear vision for this wreath that it turned out exactly as I pictured in my head. Pink snow capped bottle brush trees, vintage inspired ball ornaments, and a pair of hipster scarf-wearing llamas. I thought it would be difficult to find everything I needed but I pretty much found everything I needed for this project at Michael's (even the llamas)! I was in the store the weekend after thanksgiving and they were out of the bottle brush trees in the size I needed, these trees are really trendy right now, so I ordered them online and they arrived within a couple of days. I love online shopping :)
What you will need:
- White holiday wreath
- 2 Llama animal toys (or animals of your choice)
- Pink bottle brush trees
- 6 small string of pearl beads (I used pink, blue, and lavender)
- Wood alphabet to spell out "Fa La Llama"
- Vintage inspired ball ornaments (in pastels)
- 3- Glittered pine cones (not pictured)
- 2 - Colorful tinsel stems (I used pink and blue as llama scarves)
- Craft paints (I used Martha Stewart brand in poodle skirt pink, summer haze blue, white, and silver glitter)
- Small craft brush
- E6000 glue or glue gun
- Clothespins are not required but they help to hold letters in place while they dry
First, I painted the llamas white so that the color I applied will be brighter. It took about 20 minutes for the first coat to dry. Then I painted one llama blue and the other pink (yes, in my head it's Mr and Mrs. Llama - haha) I think the paint job gives them that cool retro pop I was looking for.
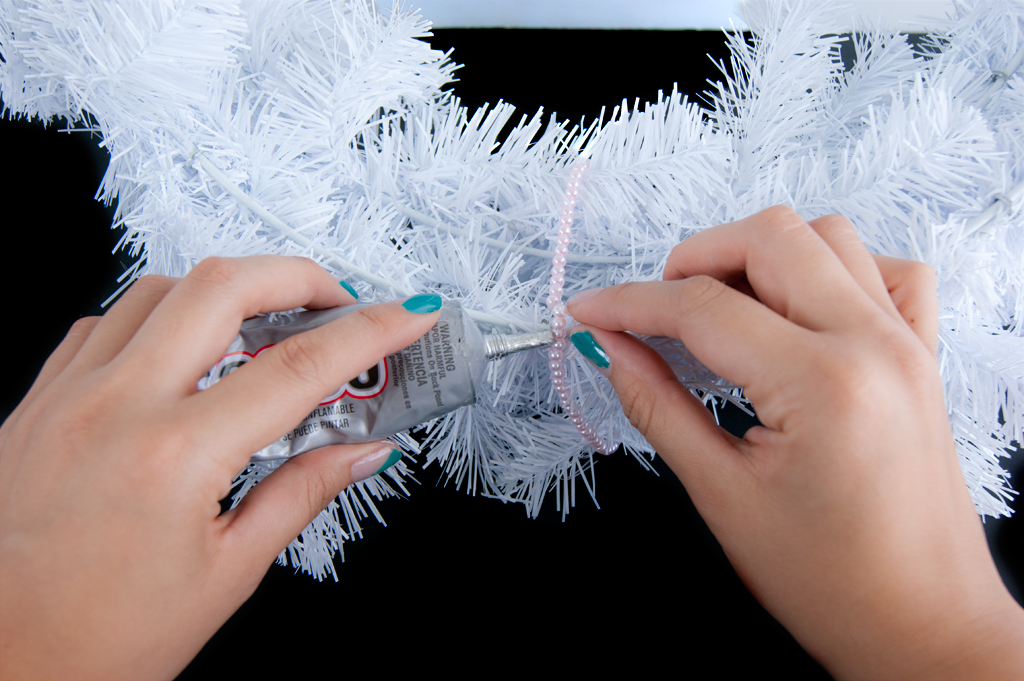
I picked up some pearl beads in pastel colors to match the ball ornaments and add some extra glam and sparkle. I wrapped each sting of beads around the wreath and simply glued the ends together.
OKAY, let's address the Elephant in room....the letters in the finished product spell our FA LA LLama, and as much as I wanted it to have the extra "LA" in there, I somehow misplaced them when I was ready to put it all together. So FA LA LLA-MA will have to do, but you get the point right? :)
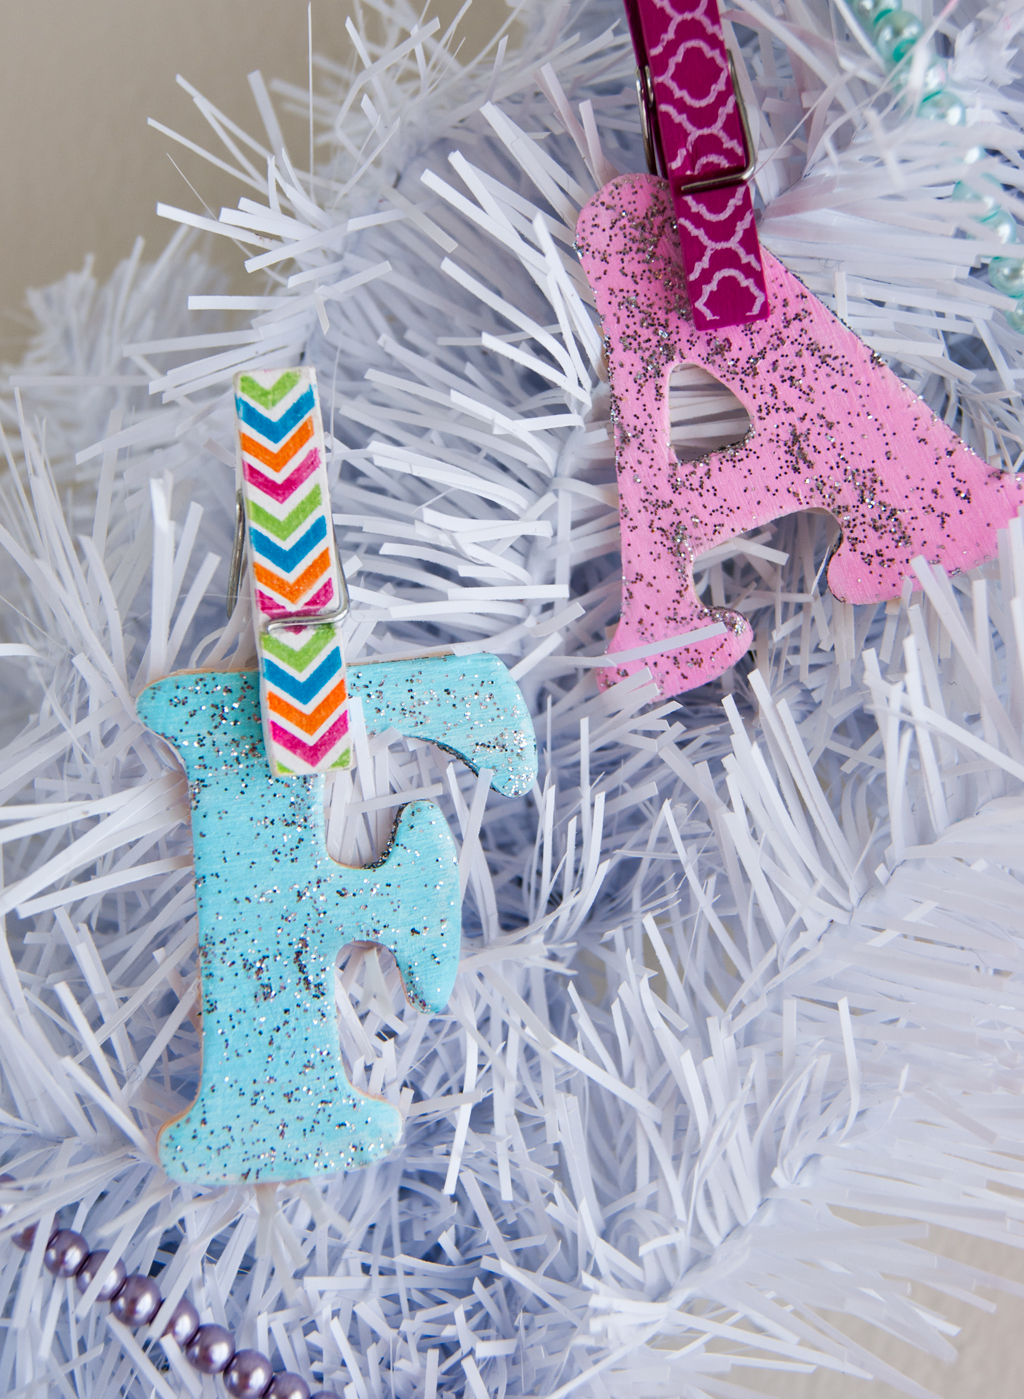
Moving right along, I painted the wood letters white before painting them pink and blue. I tested just painting the color directly on the wood and I found it to be too dull, so I would suggest painting white as a primer. Finally, I added a touch of glitter paint for added sparkle. Tis the holidays! Then I glued the letters directly on the wreath stems. I found clothespins are to be super handy and used them to hold the letters in place while they adhered to the wreath.
Aren't these trees just the cutest thing ever?! I glued these atop the wreath to create a whimsical scene and balance out the bottom of the wreath where all the action is!
Finally, I glued glittered pine cones around the wreath and wrapped tinsel stems as scarves around the llamas and placed them inside the wreath.
A pine cone between them won't stop true love!

Made with love and a whole lot of holiday spirit,
Enid