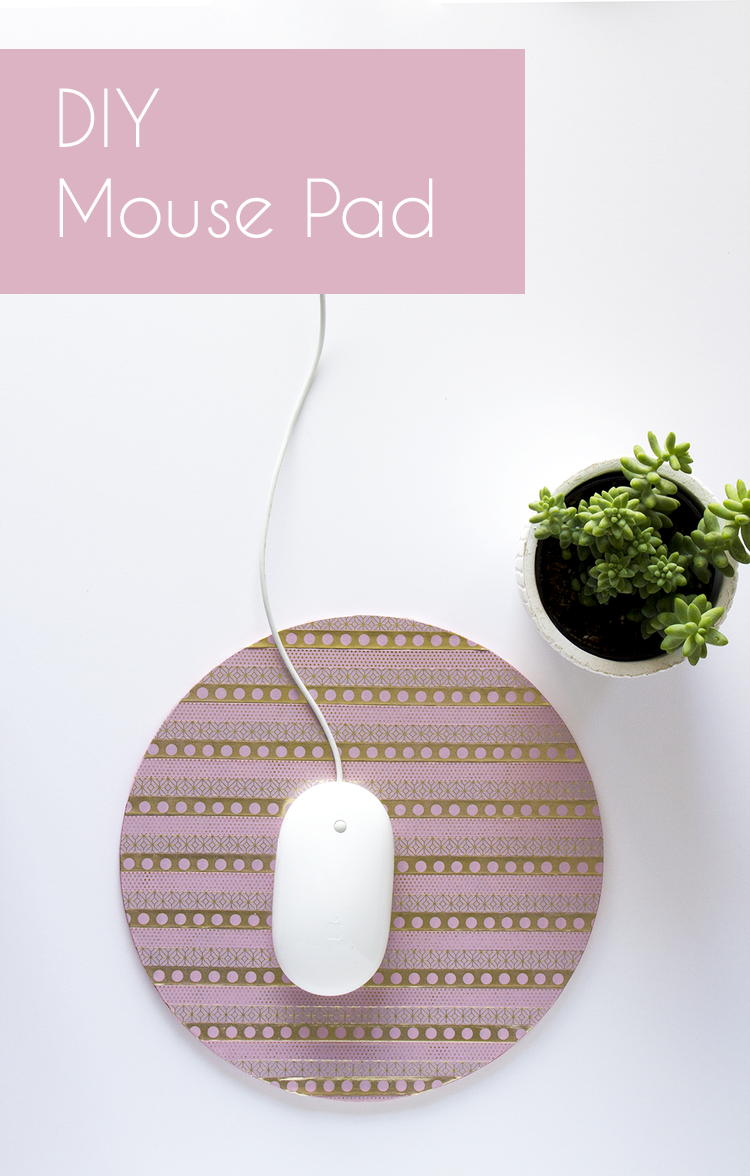
Back to School Project: DIY Mouse pad
While I haven’t been in school for some time now, this time of year always makes me feel like buying school supplies. I’ve had the same old mouse pad for WAAAAAAY more years than I care to admit. By the look of it, I’m pretty sure I bought it at some boring office supply store purely out of necessity. So I figured there’s no better time than the back-to-school season for a DIY mouse pad project!
My goal was to keep this project easy and affordable for everyone, as in under $10 and under 15 min! Thanks to the eye-catching and high quality washi tape out there these days, this project turned out beautifully. I love how bright and feminine it turned out.
Supplies:
10” cork trivet (I got this one from the garden section at home depot) - $3.99
Blush Glam Washi Tape from Recollections at Michaels - $4.99
Cleaned the plastic side of the cork trivet with a little soap and water to ensure the tape would stick.
Then lay down rows of washi tape, alternating between the 3 different designs. I suggest leaving some extra tape the corners and folding them back behind the trivet.

Take your favorite washi tape design and cover the outer edge of the trivet, and trim any excess washi tape using an Xacto knife.

Finally, fold over the trim, and use glue to adhere it to the cork board. This ensures the washi tape will stay in place for a long time to come!


I've been using this mouse pad for over a week and it looks and feels great! The best part is that I can use the left over washi tape to adorn other items around my desk to match. Give it a try!
Happy DIY'ing!
Enid
P.S. For more DIY inspiration check out: 111 World's Most Loved DIY Projects!