Easy to Sew Retro Style Headband

I love weekend routines, and our favorite thing to do on Sundays is walk over to our local coffee shop. Last week the barista said that we can just say, "the usual" and he'll know it's a Cappuccino for me and Americano for Michael (Finally, a barista that understands our coffee obsession, bless his heart)! We usually try to grab a seat at the window and observe how dogs look like their owners! After that we'll walk over to the farmers market or grocery store and buy our produce for the week.
Since I love my weekends, I thought it would be fun to share my favorite weekend outfit (Polka dot top from H&M and green trousers from Anthropologie). But no outfit is complete without a touch of DIY! So today I'm sharing how I made this matching headband to go with my outfit.
Did I mention it's reversible?!!
I only wore the red side of the headband in these photos, but it's totally reversible, and I found a green retro pattern to complement the polka dots, which I'm very excited about! It took me less than 30 minutes to make the headband (because my sewing skills are pretty beginner level) but I plan on making dozens and dozens of these, and I think you will too! 2 Fabric quarters will give you 3 to 4 headbands so you get your money's worth and then some.
You will need:
- sewing machine (or just needle and thread)
- pencil
- ruler
- scissors
- piece of drawing paper
- sewing pins
- thread (i just ended up using the beige)
- fold over elastic (I only used about 3 inches out of the 1 yard)
- 2 fabric quarters
To make the sewing pattern I folder a piece of drawing paper in half and outlined 7 inches of the ruler. I wanted to make the headband a little wider in the middle so I widened my pattern lines from the folded end by about 1/2 inch. Finally, I cut out the lines to create my pattern.

I sandwiched the fabric together with the colorful side on the inside, and used sewing pins to keep the pattern in place.
I used my new Brother (project runway edition) sewing machine (which I am in love with by the way) to sew on either side of the pattern. I then trimmed away the excess fabric.
This is the tricky part....I turned the fabric inside-out by feed the fabric through one side and down the middle.
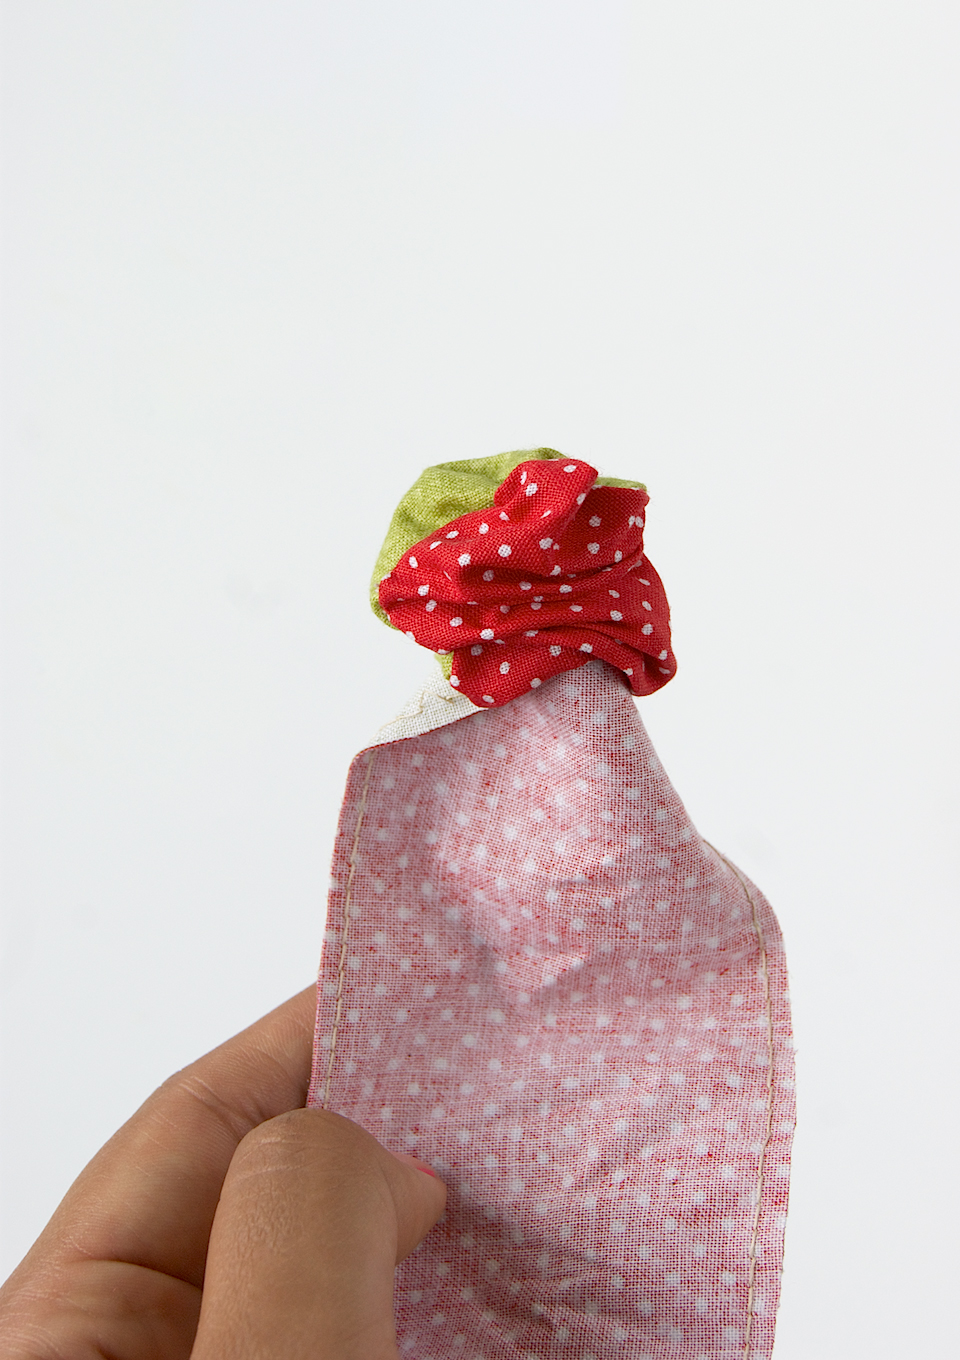
I used a sewing pin to secure the elastic to both sides. Notice, I tucked in the fabric at each end so it looks cleaner. Then I just sewed up each side.
What are your favorite weekend routines?!